magazine
2024.09.08

Basics of Three-Point Lighting You Should Know | Release #279

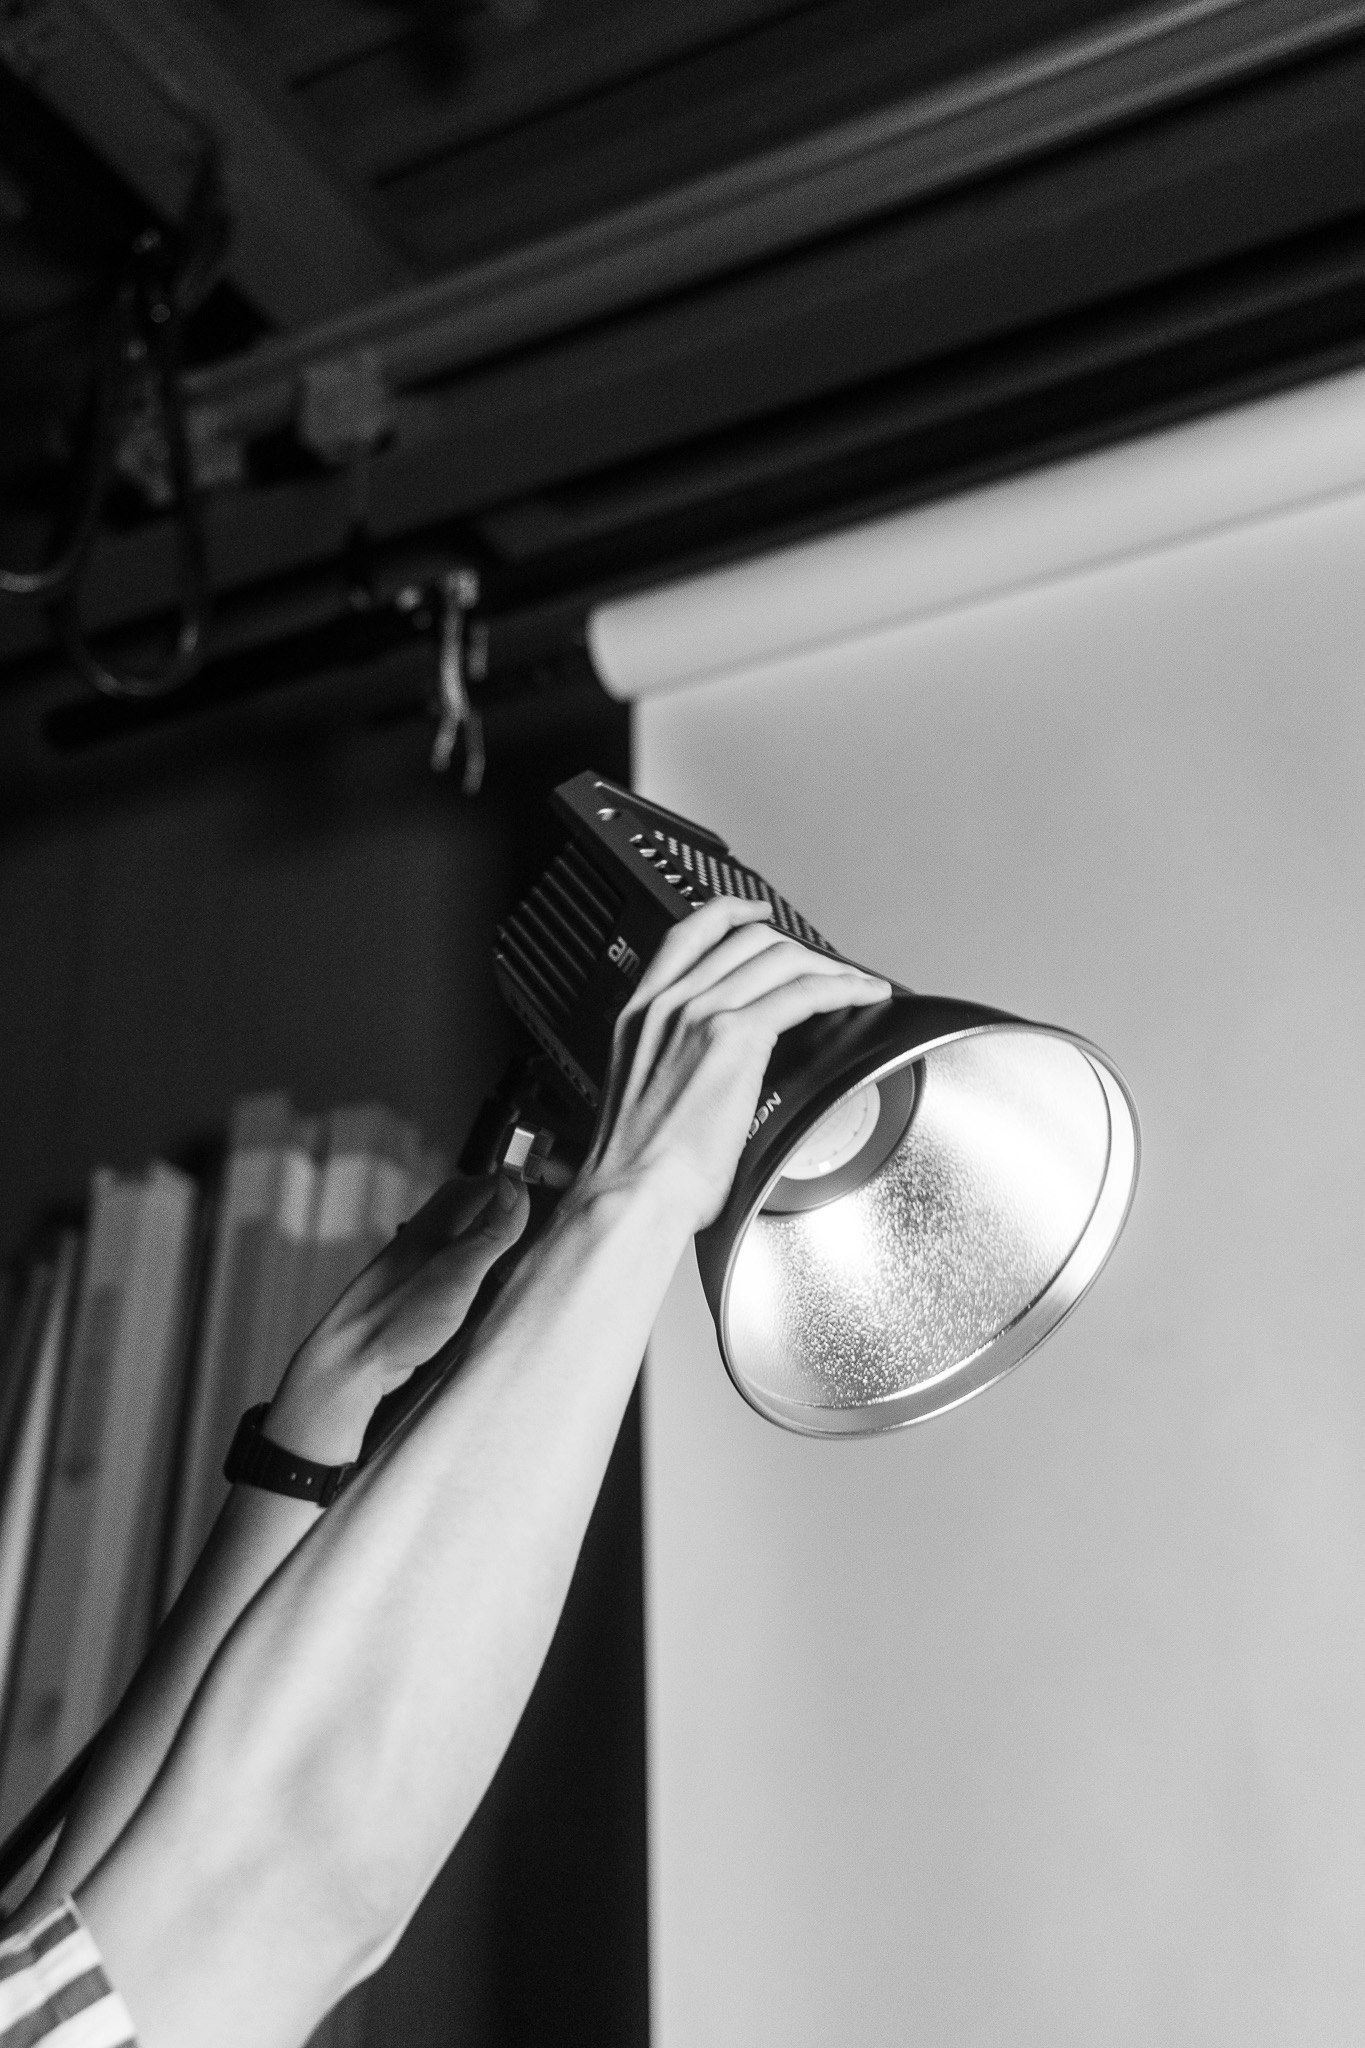
2024-08-three-point-lighting-basics-cover-image

Cover image by Nobuco

Three-point lighting is one of the most fundamental lighting techniques in photography and video shooting, used to effectively illuminate subjects and provide depth and dimension. This technique uses three light sources: 'key light', 'fill light', and 'back light', each positioned at different angles to achieve natural and balanced lighting.

This time, we will clearly explain the role of each light and summarize practical applications that will be useful for your shoots starting tomorrow.

2024-08-three-point-lighting-basics-image-2

Image by Nobuco

Role of the Key Light

The key light is the most important light source in three-point lighting, functioning as the main illumination. It is typically placed at a 45-degree angle in front of the subject, casting the strongest light to create clear shadows.

By adjusting the position and intensity of the key light, you can control the atmosphere and mood of the scene. In studio shoots, softboxes or beauty dishes are often used, and natural light can also be utilized.

Importance of the Fill Light

The fill light is an auxiliary light used to soften the shadows created by the key light. It is usually placed on the opposite side of the key light, providing softer, more subtle light to reduce shadows and highlight the subject's details.

The fill light is often set to a lower intensity than the key light, and its strength can be adjusted according to the scene and purpose, allowing you to control the overall tone and contrast of the photograph.

Emphasizing Depth with the Back Light

The back light (or rim light) is placed behind the subject and serves to separate the subject from the background, emphasizing the outline. This light does not directly hit the subject but rather creates highlights around it, adding a sense of depth.

Properly positioned back light prevents the subject from blending into the background, giving depth to photos and videos.

2024-08-three-point-lighting-basics-image-9

Image by Mori

Simple Applications and Adjustments of Three-Point Lighting

Three-point lighting is essential for professional shoots, but beginners can easily incorporate it. Here are some tips you can use starting tomorrow.

◆ Use a desk lamp or natural light for the key light, and cover it with white cloth or tracing paper to achieve soft lighting. Place the key light at a 45-degree angle from the camera to brightly illuminate one side of the subject's face.

◆ Next, try using inexpensive reflectors (such as aluminum foil or white boards) as fill lights. Place them on the opposite side of the key light to function as auxiliary lights that soften shadows. If the fill light is too strong, move the reflector slightly away or adjust the angle to mitigate the effect. When using natural light from a window, adjust with curtains if the light is too strong.

◆ For the back light, use clip lights or small LED lights available at dollar stores, and place them behind the subject. This emphasizes the subject's outline and enhances separation from the background. Ensure the back light does not directly hit the subject by illuminating it from a high angle. If the background is bright, set the back light slightly dimmer for a more natural image.

◆ Finally, after setting all the lights, take test shots with a smartphone or camera. If adjustments are needed, change the position or angle of the lights to get closer to the ideal image.